
Create Light, Dark, and Tinted iOS App Icons with Codex for macOS — No Copy and Paste

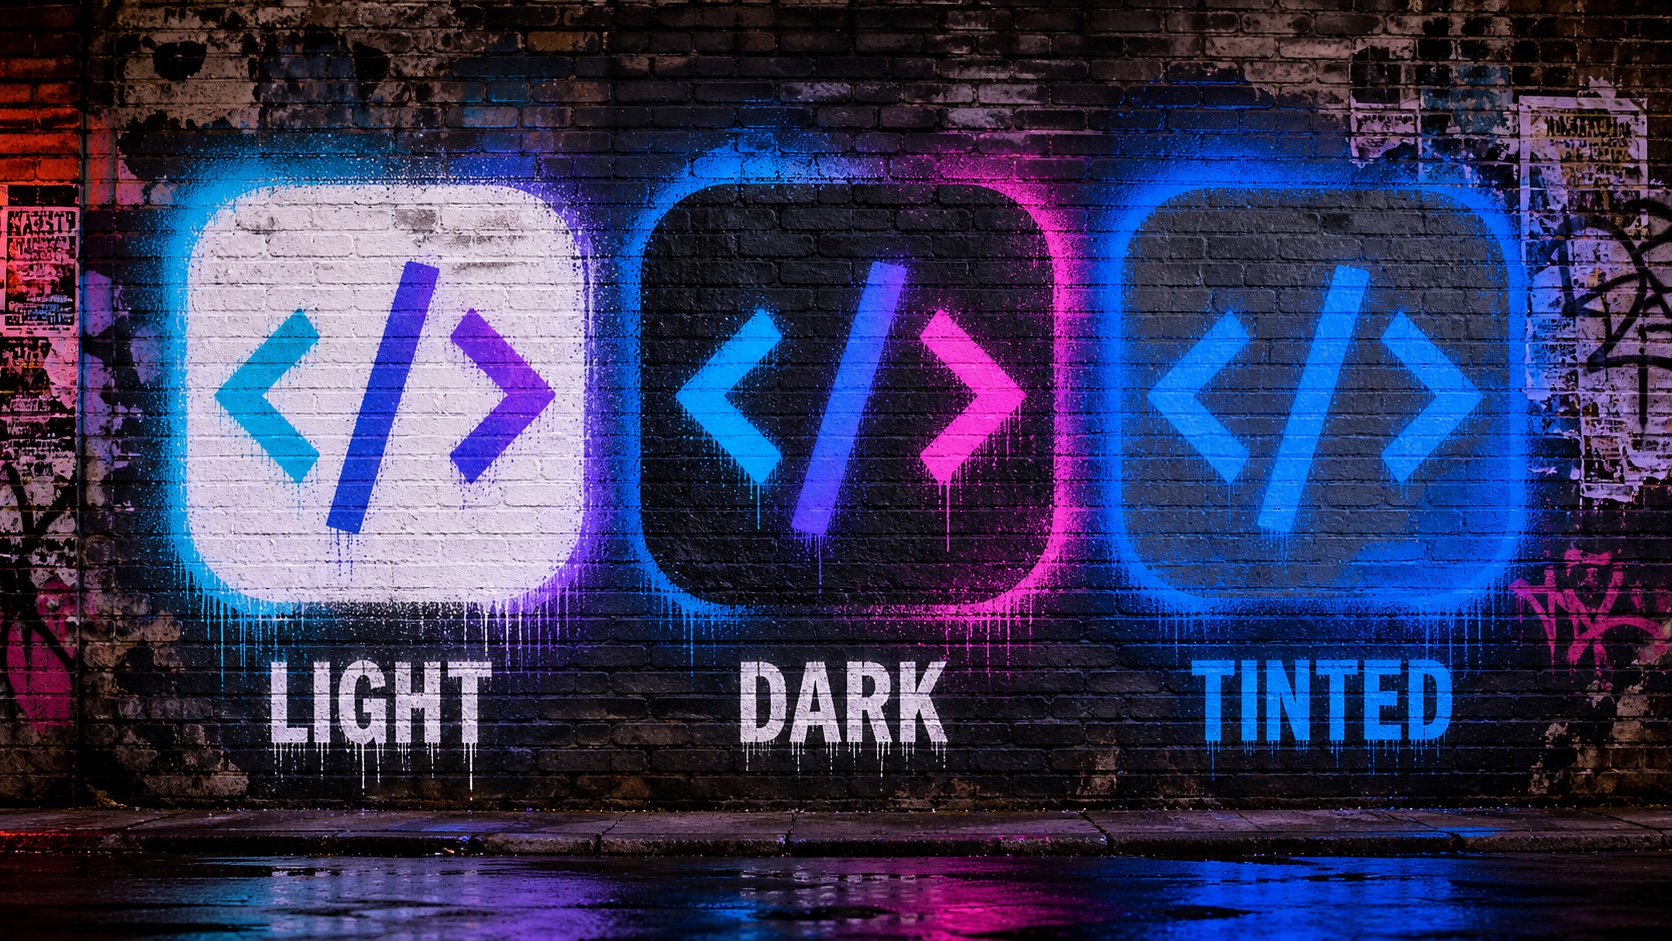
Light, Dark, and Tinted iOS app icons spray-painted on a graffiti wall

iOS and iPadOS can display an app icon in three appearances: Light, Dark, and Tinted. The tedious approach is to create three files manually, drag each one into Xcode, and hope the asset catalog metadata stays correct. A better workflow is to let Codex for macOS generate the variants, write them directly into Assets.xcassets/AppIcon.appiconset, update Contents.json, and verify the result.

This guide shows a repository-first workflow: no Finder-to-Xcode dragging and no repetitive copy and paste. Codex works on the project files in place, so every change appears in Xcode automatically.

What Apple expects

Apple’s current guidance describes Light, Dark, and Tinted app-icon appearances for iOS and iPadOS. For the asset-catalog route, the Tinted artwork should be grayscale, while the Dark version can use transparency so the system background can show through. Xcode can also generate a treatment automatically when you provide only the primary icon, but custom variants give you control over contrast, hierarchy, and brand character. See Apple’s guides to configuring app icons in an asset catalog and the App Icons Human Interface Guidelines.

Before you ask Codex to edit the catalog

  • Open the folder containing your Xcode project in Codex for macOS.
  • Make sure the project builds before changing artwork.
  • Commit your current work or create a Git checkpoint.
  • Locate Assets.xcassets/AppIcon.appiconset.
  • Keep the master icon or design reference in the repository so Codex can use it consistently.

OpenAI’s official Codex use cases include building and debugging iOS projects. The same local-project workflow is ideal for asset-catalog maintenance because Codex can inspect the existing structure, edit files, and report a diff for review.

The prompt: generate and install all three icons

Start with a prompt that gives Codex clear authority, constraints, filenames, and validation requirements:

Inspect this Xcode project and find the active iOS app icon set.

Use the existing master icon as the visual reference. Create three coordinated 1024 Ă— 1024 PNG variants:
- AppIcon-Light.png: the standard full-color icon for Light appearance.
- AppIcon-Dark.png: a dark-appearance version with strong contrast and a transparent background where appropriate.
- AppIcon-Tinted.png: a clean grayscale/monochrome version designed for the system tint treatment.

Write the files directly into Assets.xcassets/AppIcon.appiconset. Update Contents.json so the variants map to the default, dark, and tinted luminosity appearances. Do not rename the asset set or change unrelated assets.

Before editing, back up the current Contents.json. After editing, validate the JSON, inspect image dimensions and alpha channels, run the project’s safest available build check, and show me the final diff.

If your master artwork is outside the repository, place it in a temporary project folder first. Once Codex can see that file, it can create the variants and install them without sending you through a manual drag-and-drop loop.

What Codex changes inside AppIcon.appiconset

The result is a small, reviewable set of files:

Assets.xcassets/
└── AppIcon.appiconset/
    ├── AppIcon-Light.png
    ├── AppIcon-Dark.png
    ├── AppIcon-Tinted.png
    └── Contents.json

A typical single-size iOS mapping looks like this:

{
  "images" : [
    {
      "filename" : "AppIcon-Light.png",
      "idiom" : "universal",
      "platform" : "ios",
      "size" : "1024x1024"
    },
    {
      "appearances" : [
        { "appearance" : "luminosity", "value" : "dark" }
      ],
      "filename" : "AppIcon-Dark.png",
      "idiom" : "universal",
      "platform" : "ios",
      "size" : "1024x1024"
    },
    {
      "appearances" : [
        { "appearance" : "luminosity", "value" : "tinted" }
      ],
      "filename" : "AppIcon-Tinted.png",
      "idiom" : "universal",
      "platform" : "ios",
      "size" : "1024x1024"
    }
  ],
  "info" : {
    "author" : "xcode",
    "version" : 1
  }
}

Treat that JSON as an example, not a blind replacement. Existing projects can include additional platforms, legacy slots, or Xcode-generated metadata. Codex should merge the three iOS entries into the structure it actually finds.

A safer two-pass workflow

Pass 1: inspect and propose

Inspect the current AppIcon.appiconset without changing files. Report its platforms, sizes, appearance entries, filenames, and any risks. Then propose the exact files and Contents.json edits needed for Light, Dark, and Tinted iOS icons.

Pass 2: implement and verify

Implement the approved plan. Preserve unrelated entries. Validate every PNG as 1024 × 1024, confirm the tinted asset is grayscale, check the dark asset’s alpha channel, validate Contents.json, and run an Xcode build or asset-catalog compilation check. Stop and report if any validation fails.

How to preview the three appearances

  1. Open Assets.xcassets in Xcode.
  2. Select AppIcon and confirm the Any, Dark, and Tinted wells are populated.
  3. Build and run on a recent iOS Simulator.
  4. Long-press the Home Screen, choose the customization controls, and switch among Light, Dark, and Tinted appearances.
  5. Test several tint colors. A tinted icon that looks good only in blue is not finished.

Pro tips

  • Design Tinted as a mask, not a desaturated poster. Remove tiny color-dependent details and preserve a strong silhouette.
  • Do not simply invert Light for Dark. Rebalance highlights, shadows, and edge contrast.
  • Ask Codex to preserve geometry. The symbol, padding, and optical center should remain consistent across all three variants.
  • Keep generated intermediates out of the asset set. Only final PNGs and valid catalog metadata belong in AppIcon.appiconset.
  • Review the diff. A three-icon task should not modify unrelated Swift files, build settings, or other assets.
  • Prefer Icon Composer for the newest layered workflow. Apple now offers Icon Composer for platform and appearance variants, but the asset-catalog method remains useful for existing projects and explicit PNG control.

The payoff

The real improvement is not just generating three pictures. It is giving Codex responsibility for the complete, verifiable change: create the artwork, name the files, place them inside xcassets, update the appearance metadata, validate the catalog, and show the diff. Xcode sees the result immediately, and you stay focused on design decisions instead of moving files between windows.


How to Integrate Codex Directly into Xcode — Plus the Best SwiftUI Skills

Xcode can now host Codex directly inside its Coding Assistant. That changes the workflow completely: instead of keeping an AI agent in a separate terminal or desktop window, you can start a Codex conversation beside your source code, give it project context, review edits in place, and let Xcode expose native capabilities such as building and testing.

This guide covers the settings-level integration, the separate MCP route for external Codex sessions, and a careful way to add third-party SwiftUI and Swift Concurrency skills.

Before you start

Use a current Xcode release that includes Intelligence settings and the Coding Assistant. Availability can depend on the Xcode release, region, account, and managed-device policy. Update Xcode first, then open a project that already builds successfully. Commit or create a Git checkpoint before asking any agent to edit the code.

1. Install Codex from Xcode Settings

  1. Choose Xcode > Settings.
  2. Select Intelligence in the sidebar.
  3. Under Agents, find Codex and click Get.
  4. Review the installation sheet and click Install.
  5. Open the Codex agent settings. In the Account row, click the More button and follow the sign-in flow if you want to use your account.

Xcode can update downloaded agents automatically when possible. Before using an agent on proprietary code, read the privacy information linked from Intelligence settings. The selected agent may receive project files and other context needed to process a request.

2. Open Codex in the Coding Assistant

Open the Coding Assistant with its toolbar button or press Command-0. Start a new conversation and choose Codex as the agent. The selected agent runs in Xcode’s conversation workspace, where you can keep the transcript, source, and generated artifacts visible together.

For a focused source-editor request, select code and use the coding tools popover, or press Command-Option-0. Starting from a selection is especially useful for explaining unfamiliar code, adding documentation, or refactoring one type without inviting a repository-wide rewrite.

A good first prompt is:

Inspect this project without editing files. Identify the active app target, deployment target, test targets, concurrency settings, and the safest build-and-test plan. Report any assumptions before making changes.

3. Configure permissions deliberately

Agents can become much more useful when they may run build tools, tests, formatters, and project-specific scripts. They also become more powerful, so treat permissions as part of the project’s security model.

In Xcode > Settings > Intelligence, open the Permissions row under Agents. Review previously allowed commands and tools. Add only the command-line tools the project actually needs, such as a formatter or a project-owned test script.

A sensible starting policy is:

  • Allow read-only project inspection and normal builds.
  • Allow the project’s tests and formatter.
  • Require review for dependency changes, scripts downloaded from the internet, signing changes, and destructive commands.
  • Do not grant broad shell access merely to avoid an occasional approval.

4. Customize Codex specifically for Xcode

Xcode keeps agent-specific configuration in subfolders beneath:

~/Library/Developer/Xcode/CodingAssistant

Codex configuration used only when Codex launches inside Xcode belongs in:

~/Library/Developer/Xcode/CodingAssistant/codex

This separation is useful: settings for Codex inside Xcode do not have to affect every Codex session on your Mac. You can set an appropriate model, add MCP servers, or provide Xcode-specific guidance while keeping external workflows independent.

Also place an AGENTS.md file in the repository root for project rules that should travel with the code:

# Apple project guidance
- Use SwiftUI and modern Swift Concurrency.
- Assume strict concurrency checking.
- Prefer async/await, actors, and structured concurrency over GCD.
- Preserve bundle identifiers, signing, capabilities, and entitlements.
- Do not add dependencies without approval.
- Run the app target build and relevant tests before finishing.
- Use availability checks and fallbacks for newer platform APIs.
- Keep views accessible with Dynamic Type and VoiceOver.

5. Add SwiftUI and concurrency skills

Agent skills are focused instruction packages that teach an agent a repeatable workflow or domain-specific rules. In current Xcode releases, agentic coding plug-ins can contain skills, subagents, and MCP servers.

  1. Open Xcode > Settings > Intelligence.
  2. Choose the Plug-ins row under Agents.
  3. Click Add Plug-in.
  4. Choose an import method. For a repository, select the URL option and paste its GitHub URL.
  5. Review the components, select only the skills you need, and click Install.

Not every repository is packaged as an Xcode-compatible agent plug-in. If Xcode does not accept it, use the project’s documented Agent Skills installation method for an external Codex workflow instead of forcing it into Xcode.

Popular skills worth evaluating

  • SwiftUI Pro by Paul Hudson — covers modern SwiftUI APIs, state management, navigation, layout, performance, accessibility, and common model mistakes.
  • Swift Concurrency Pro by Paul Hudson — targets async/await, actors, Sendable, task groups, structured concurrency, and newer language behavior.
  • SwiftUI Expert by Antoine van der Lee — emphasizes modern APIs, view composition, invalidation and performance, lists, localization, Liquid Glass, and Instruments traces.
  • Swift Concurrency by Antoine van der Lee — includes Swift 6 migration, actor isolation, async sequences, testing, performance, and concurrency triage.
  • Swift iOS Skills by Daniel Pearson — a broad collection with focused skills for SwiftUI, concurrency, SwiftData, StoreKit, accessibility, networking, testing, and Apple frameworks. Install only the modules you use.

For an external Codex installation, many of these repositories document a command such as:

npx skills add https://github.com/twostraws/swiftui-agent-skill --skill swiftui-pro
npx skills add https://github.com/twostraws/swift-concurrency-agent-skill --skill swift-concurrency-pro

These commands install third-party code and instructions. Review the repository, license, recent maintenance, SKILL.md, scripts, and permissions before running them. Prefer a pinned release or commit for a team workflow, and retest skills after major Xcode or Swift changes.

6. Use external Codex with Xcode’s MCP bridge

Installing Codex inside Xcode and connecting an external Codex session are two different workflows. If you want the Codex CLI or desktop workflow to use the open Xcode project and its tools, enable Xcode’s MCP bridge:

  1. Choose Xcode > Settings > Intelligence.
  2. Under Model Context Protocol, turn on Allow external agents to use Xcode tools.
  3. In Terminal, run:
codex mcp add xcode -- xcrun mcpbridge
codex mcp list

Keep the intended project open in Xcode before prompting the external agent. Xcode displays when an external agent connects and when it is active.

This route is ideal when you prefer the Codex app or CLI but still want Xcode-native build, test, project, and simulator capabilities. The in-Xcode agent route is better when you want conversations, diffs, and source context inside the Xcode workspace.

7. A modern Swift Concurrency prompt

Skills work best when the task still states the target and proof clearly:

Use the Swift Concurrency skill to review this feature for Swift 6 strict-concurrency issues. Check actor isolation, Sendable conformance, task lifetime, cancellation, and accidental unstructured concurrency. Do not silence diagnostics with unchecked conformance. Make minimal fixes, build the app, run focused tests, and explain any remaining warnings.

For SwiftUI, ask the skill to inspect data ownership, @Observable flow, ForEach identity, view invalidation, accessibility, navigation, and availability checks. Do not ask it to “modernize everything” in one pass; separate correctness, migration, and performance work.

Pro tips

  • Use one skill per concern. Loading every iOS skill wastes context and can produce conflicting advice.
  • Keep skills advisory. Your deployment target, architecture, and product requirements outrank generic rules.
  • Review generated project-file changes. Treat edits to project.pbxproj, entitlements, capabilities, build settings, and signing as high risk.
  • Ask for evidence. Require the build command, test result, changed files, and remaining diagnostics.
  • Create checkpoints. Xcode conversation rollback is helpful, but Git remains the durable source of truth.
  • Audit updates. A popular skill can still become outdated or compromised. Re-review changes before updating a shared installation.

Official references

The strongest setup is intentionally small: Codex enabled in Xcode, carefully scoped permissions, a concise AGENTS.md, one SwiftUI skill, one concurrency skill, and a build-and-test loop you trust.

How to Configure Codex for Xcode: A Practical Setup and Pro Tips

Codex can be a remarkably effective partner for iOS and macOS development, but there is one important detail to understand first: you do not configure it as a native Xcode extension. The best workflow is to let Xcode remain your visual editor, signing environment, preview canvas, and debugger while Codex works directly with the same project folder from the Codex app or CLI.

Once both tools point at the same repository, Codex can inspect Swift and SwiftUI code, make focused edits, run builds with xcodebuild, analyze compiler errors, write tests, and help debug simulator issues.

1. Prepare the Xcode project

Start with a project that builds successfully in Xcode. Resolve signing errors, select the intended scheme, and run the app once on your preferred simulator. This gives Codex a clean baseline and avoids confusing an existing project problem with an AI-generated change.

If the project uses Swift Package Manager, let Xcode finish resolving packages first. For workspaces, open the .xcworkspace rather than the .xcodeproj when CocoaPods or another tool generated the workspace.

2. Open the same repository in Codex

In the Codex desktop app, create or open a project that points to the folder containing the Xcode project or workspace. If you prefer the terminal, change into that directory before starting Codex. Keeping the repository root as the working directory gives the agent access to source files, tests, configuration, assets, and project instructions.

A useful first prompt is:

Inspect this Xcode project without changing files. Identify the app target, scheme, deployment target, test targets, package dependencies, and the safest xcodebuild command for a simulator build.

Ask Codex to inspect first, then make changes. That small habit prevents many incorrect assumptions about schemes, destinations, and project structure.

3. Establish a repeatable command-line build

Codex is most reliable when it can verify work without depending on clicks in the Xcode GUI. Ask it to list available schemes:

xcodebuild -list -project MyApp.xcodeproj

Then establish a simulator build command, for example:

xcodebuild \
  -project MyApp.xcodeproj \
  -scheme MyApp \
  -sdk iphonesimulator \
  -destination 'platform=iOS Simulator,name=iPhone 17 Pro' \
  build

For a workspace, replace -project with -workspace MyApp.xcworkspace. Simulator names vary by installed Xcode version, so let Codex query available devices instead of hard-coding one blindly.

4. Add project instructions with AGENTS.md

Create an AGENTS.md file at the repository root. Codex reads this file as project-specific guidance, making it the ideal place to record conventions that should survive across tasks.

# Project guidelines
- Use SwiftUI and Swift Concurrency.
- Support iOS 18 and newer.
- Prefer @Observable for new shared state.
- Do not add dependencies without approval.
- Keep views small and extract reusable subviews.
- Run the app scheme build and unit tests before finishing.
- Never modify signing, bundle identifiers, or entitlements unless asked.

Include real commands for formatting, linting, tests, and code generation. The more deterministic the verification loop, the more useful Codex becomes.

5. Give Codex focused tasks

Good tasks include the desired behavior, constraints, and the proof required before completion. Instead of saying “fix the settings screen,” try:

Fix the settings screen layout on compact-width iPhones. Preserve current behavior and accessibility identifiers. Build the app for an available iPhone simulator, run the relevant tests, and summarize every changed file.

For risky refactors, ask for a plan first. For small visual tweaks, keep the task narrow and request a screenshot or simulator verification when available.

Pro tips for experienced Xcode users

Use a dedicated derived-data directory

Give automated builds their own derived-data path. This makes cleanup predictable and reduces interference with an Xcode session:

xcodebuild ... -derivedDataPath .build/DerivedData

Add the directory to .gitignore.

Prefer structured compiler output

Long build logs consume attention and context. Use a formatter such as xcbeautify if it is already part of the project, or ask Codex to focus on error: and warning: lines. Do not let it hide the original exit status.

Separate build, test, and UI-debug loops

A fast compile loop should not always launch the simulator. Use three explicit commands: one for building, one for unit tests, and one for UI or simulator debugging. Codex can then choose the least expensive proof for each change.

Protect signing and project metadata

Changes to project.pbxproj, entitlements, capabilities, and signing settings deserve extra review. Tell Codex not to touch them unless the task requires it, and inspect those diffs carefully before committing.

Use worktrees for parallel experiments

When exploring multiple implementations, use Git worktrees or separate branches so each Codex task has an isolated checkout. This avoids overlapping edits and makes it easy to compare approaches before merging one.

Add XcodeBuildMCP for deeper automation

Advanced users can add an Xcode-focused MCP server such as XcodeBuildMCP. It can provide a more structured bridge to schemes, builds, simulators, screenshots, and UI automation. Treat third-party MCP servers like development tools: review their permissions, pin versions where possible, and start with the narrowest access that works.

Ask for evidence, not confidence

The best final prompt is often simple: “Show me the build command, test result, remaining warnings, and the exact diff.” A successful build and focused tests are much more valuable than a confident explanation.

A practical daily workflow

  1. Open the project in Xcode and confirm the current branch builds.
  2. Open the same repository in Codex.
  3. Ask Codex to inspect the relevant files and propose a short plan.
  4. Approve a focused implementation.
  5. Let Codex build and test from the command line.
  6. Review the diff in Codex or Xcode.
  7. Run the final UI check, previews, signing, and archive flow in Xcode.

This division of labor works well: Xcode remains the authoritative Apple development environment, while Codex handles codebase navigation, repetitive edits, tests, build diagnostics, and carefully scoped automation.

Official resources

Tip: keep the first version of your setup deliberately simple. A reliable xcodebuild command plus a clear AGENTS.md file delivers more value than a large collection of tools that nobody maintains.