In the world of iOS and macOS development, Xcode is the powerhouse tool that developers rely on daily. While Xcode is packed with features, mastering its keyboard shortcuts can significantly boost your productivity. Here’s a comprehensive guide to some of the best Xcode shortcuts, along with a nifty trick on how to customize them to fit your workflow.
Essential Xcode Shortcuts
Navigation:
Cmd + Shift + O: Open Quickly – This is your go-to for opening any file in your project instantly.
Cmd + 0: Show/Hide the Navigator – Toggle the left sidebar on and off.
Cmd + 1 to Cmd + 9: Switch between different Navigator sections (Project, Source Control, Debug, etc.).
Editing:
Cmd + /: Comment/Uncomment the selected line or block of code.
Cmd + D: Duplicate the current line or selection.
Control + /: Indent or un-indent the current line or selection.
Option + Delete: Delete the word to the left of the cursor.
Code Completion and Navigation:
Esc: Complete the current word or show code completion suggestions.
Cmd + Click: Jump to the definition of a symbol or open the Quick Help for it.
Control + 6: Jump to the previous issue or warning in the Issue Navigator.
Debugging:
Cmd + Y: Show or hide the Debug Area.
Cmd + Shift + Y: Show or hide the Debug Area and the Navigator at the same time.
Cmd + Option + I: Show the Debug Navigator.
Customizing Your Shortcuts
One of the lesser-known features of Xcode is its ability to customize keyboard shortcuts. This can be particularly useful if you find yourself frequently performing a specific action or if you’re switching from another IDE with different shortcuts.
How to Create Custom Shortcuts:
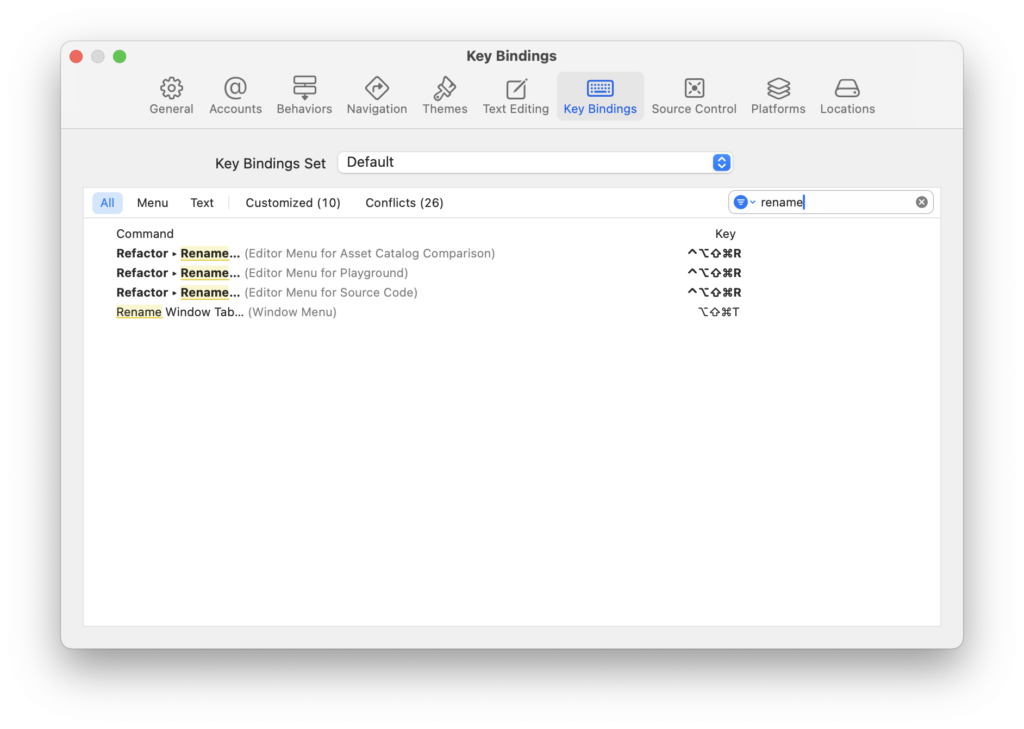
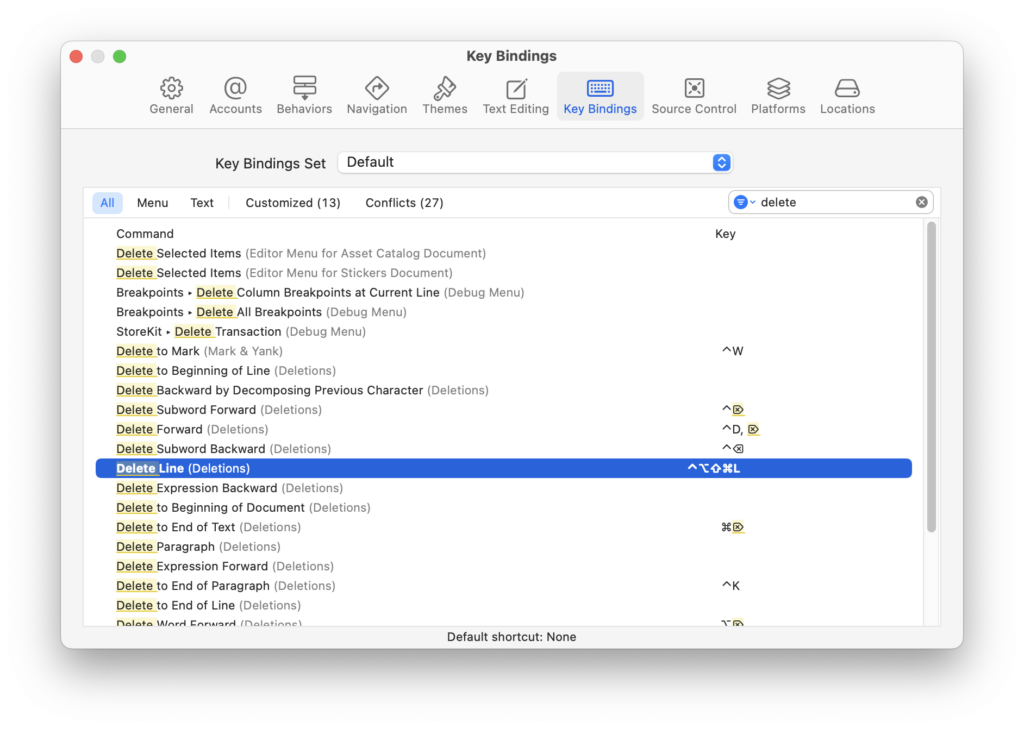
Open Preferences: Go to Xcode > Preferences > Key Bindings.
Find Your Command: Use the search bar at the top to find the command you want to customize. For instance, if you want to delete the current line, you might search for “Delete to End of Line” or “Delete Line”.
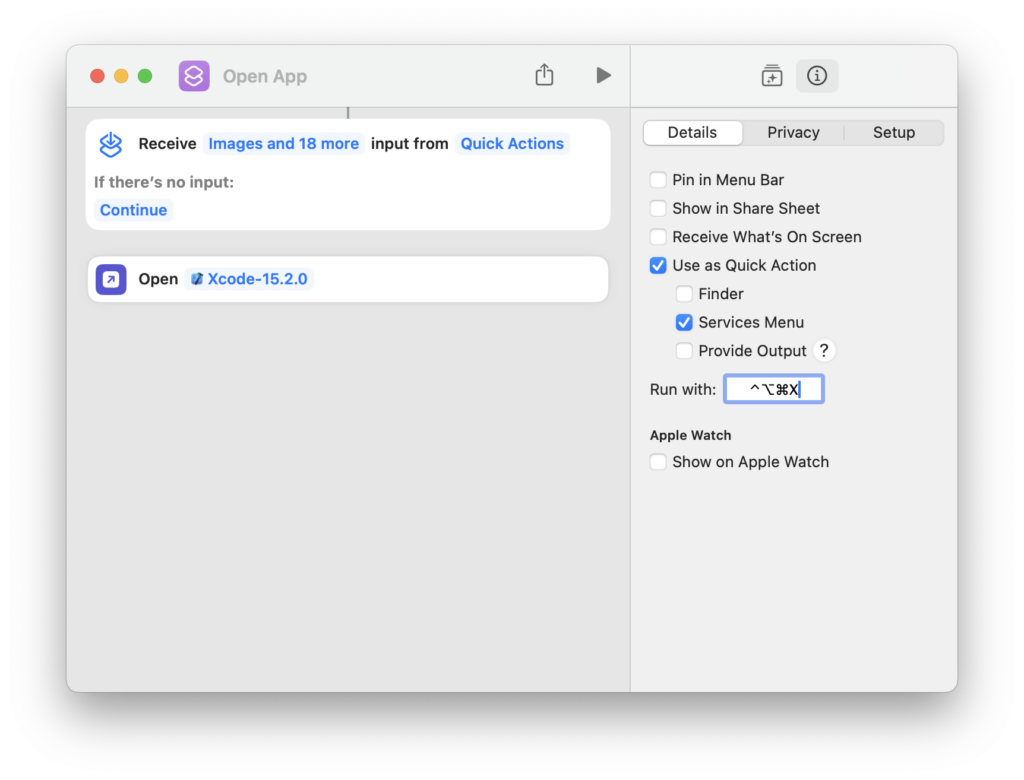
Assign a New Shortcut: Click in the field next to the command and press your desired key combination. For example, Shift + Control + Option + Command + L could be set to delete the current line, as you’ve done.
Tips for Customization:
Avoid Conflicts: Make sure your custom shortcut doesn’t conflict with existing Xcode or system shortcuts.
Consistency: Try to keep your shortcuts consistent with other tools you use to avoid confusion.
Document Your Changes: Keep a note of your custom shortcuts, especially if they’re complex, to save time in remembering them.
Conclusion
Mastering Xcode’s keyboard shortcuts is like learning a new language that speaks directly to your productivity. By integrating these shortcuts into your daily workflow, you’ll find that tasks that once took several clicks now take just a moment. And by customizing your shortcuts, you tailor Xcode to your unique coding style, making your development environment not just a tool, but an extension of your thought process. Whether you’re a seasoned developer or just starting out, these shortcuts will help you code smarter, not harder. Happy Xcoding!

